We're here with everything you need to know about one of the Growing Season's most important needs: fertilizing. Learn all about this essential practice that keeps your plants healthy year-round.
WHY FERTILIZING IS IMPORTANT
Our houseplants are exposed to a controlled environment, unlike their natural climate, where they receive plenty of organic matter and nutrients from surrounding plants and living beings. Indoors, it's our job to supply them with the nutrients they need to grow strong and healthy.
Even more so, when plants are grown in a greenhouse, they are kept under nearly perfect conditions with fertilizer treatments so they're as lush and healthy as possible when they're brought into your home. To keep them on this path, you'll need to pick up a fertilizer schedule of your own.
WHEN TO FERTILIZE
You should plan to fertilize your plants during the Growing Season, which is the months between spring and summer. From early April through late August, most of the houseplants in your collection will appreciate regular treatments. These are the months that your greenery has the most energy and is ready to grow. Fertilizing during the winter months is not necessary for indoor houseplants and may even cause damage to the plant.
The general rule of thumb is to apply a fertilizer treatment once per month or once every two weeks. This will depend on the plant as well as the fertilizer. Keep reading to learn the dos and dont's, plus some homemade recipes.
CAUTIONS WHEN FERTILIZING
Because processing nutrients and growing requires energy from the plant, there are a few specific times when fertilizing is not good for the plant. These include:
- Within six weeks of the plant has been repotted
- During fall and winter
- If the plant is a succulent or cactus (these need very little fertilizer, if any
Because plants can be so sensitive, you want to be certain that you feed them carefully to avoid unnecessary stress and things like fertilizer burn (yes, you can actually "burn" your plants from improper fertilizing)! We'll cover the types of fertilizers and concentrations next.
COMMERCIAL AND DIY FERTILIZERS
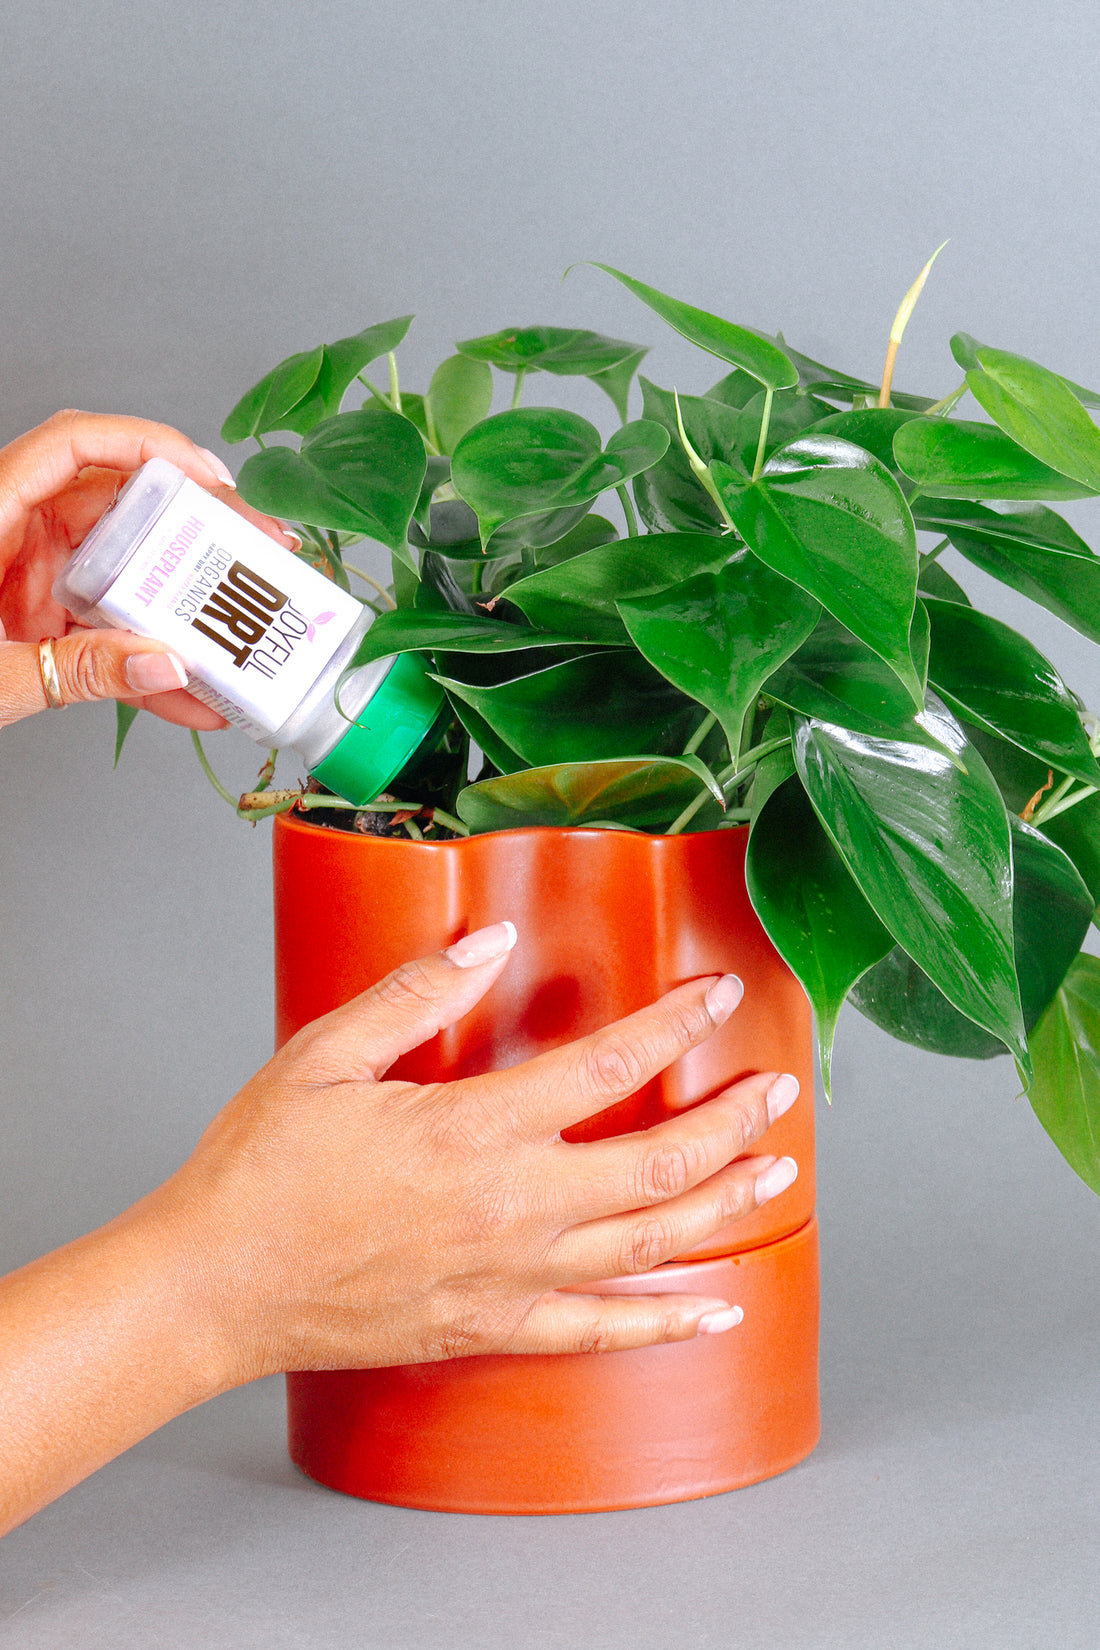
Whether you're using a store-bought or homemade fertilizer to feed your plants, you'll want to make sure to use the correct amounts, dilute if necessary, and follow the right schedule. When using commercial fertilizers, we recommend closely following the package instructions. Each will have its unique amounts to use, diluted concentration, and schedule to follow. Pre-made fertilizers will list an N-P-K ratio, which shows the amounts of Nitrogen, Phosphorous, and Potassium - the three key nutrients plants need.
Here's our list of favorite DIY fertilizers using common kitchen items. Keep in mind that these recipes are made-to-use and should not be stored for future use.
BANANA WATER
Banana water is incredibly easy to make and adds Potassium, which builds its health, strength, and resistance to disease and drought.
Supplies:
- A Jar With Lid
- 1-2 Ripe Banana Peels, cut or whole
- Filtered, Distilled, or Spring Water
Instructions:
- Place a ripe banana peel in a mason jar of water.
- Seal and let it sit for about 2 days.
- Dilute with 1 part banana water and 3 parts non-tap water in your watering can and feed directly into the soil.
Note: Banana Water is most effective when used right away and should not be stored.
RICE WATER
Anytime you make rice, you can repurpose the water used to rinse it. This DIY fertilizer adds Nitrogen, Phosphorus, and Potassium in addition to healthy bacteria and sugars. Any type of rice can be used.
Supplies:
- A Jar With Lid
- Rice (Any Type, 1+ cups)
- Filtered, Distilled, or Spring Water
Instructions:
- Soak your dry rice in water for about 20-30 minutes. Drain into jar.
- Use immediately by diluting into your watering can (1:3) or leave sealed for 3-5 days before using.
- Can be stored in a sealed jar at room temperature for up to 5 days.
EGGSHELL WATER
Eggshell water will add calcium and lower the soil’s acidity levels. Craft a nutritious eggshell “tea” to water the soil of your plants by steeping crushed eggshells in boiling water.
Supplies:
- A Jar With Lid
- Ground Eggshells (6+, or as many as you can collect at a time)
- Filtered, Distilled, or Spring Water
Steps:
- Boil filtered water.
- Rinse and lightly crush eggshells using a wooden utensil, mortar & pestle bowl, or blender.
- Place eggshells in a jar or bowl.
- Add the boiling water (required to sanitize the eggshells).
- Let the water cool to room temperature.
- Strain water to remove eggshells (or add them into the soil).
- Feed directly into the soil at room temperature.
TEA BAG WATER
Tea water offers plants plenty of nitrogen - one of the key minerals they require for bold green leaves. Simply steeping them for a few days will give your plants the boost they need.
Supplies:
- A Jar With Lid
- 2-3 Green Tea bags (no flavors or additives)
- Filtered, Distilled, or Spring Water
Instructions:
- Place your tea bags in a clean jar.
- Fill with non-tap water and seal.
- Allow it to steep for 2-3 days out of direct sunlight.
- Dilute (1:3) into your watering can and feed directly into your soil.
Note: Any tea type will work, however black teas can cause soil to be very acidic. Always avoid teas that have been used with honey, sugar, milks, or additives.
THE NITTY GRITTY DETAILS: SOIL ACIDITY
Ingredients in fertilizer can affect the acidity of the soil. Nitrogen is one of the main minerals that makes the soil more acidic. Most plants prefer a pH level between 5.5-6.5, which is slightly acidic. If you're worried about the pH levels of your collection when fertilizing, you can easily use a Moisture Meter with a pH setting that can read acidity levels. Alternatively, you can use a soil pH testing kit. When in doubt, research the soil and pH needs of your specific plant!
Common Signs That Soil is Too Acidic (0-6.5):
- Stunted growth
- Brown leaf spots
- Twisted, warped leaves
- Green veins on a yellow leaf
- Red and purple leaf development
Common Signs That Soil is Too Alkaline (7.5-14):
- Yellow veins on leaves
- Broken or brown tips on new growth
- Wilted leaves
- Stunted growth
- Red and purple leaf development
You are all set to fertilize for luscious, healthy growth this year! Questions? Book your 1-on-1 Office Hours call with us!